WordPress plugins are tools that add extra features to your website, such as SEO optimization, contact forms, security, backups, and performance improvements, without requiring coding skills.
With more than 59,000 free plugins available in the WordPress directory, along with thousands of premium options, choosing and installing the right ones can transform your site’s functionality.
In this guide, you will learn who can install plugins in WordPress, the different installation methods, including dashboard, upload, and FTP, as well as the key requirements and best practices to keep your site secure and fast.
Who Can Install WordPress Plugins?
Not everyone with access to a WordPress site can install plugins. WordPress uses a role-based system to control what users can do on the site. Only two user roles have the necessary permissions to install and manage plugins:
Administrators: On single-site WordPress installations, Administrators have complete control over all aspects of the website, including installing, activating, and removing plugins.
Super Administrators: If you’re running a WordPress multisite network, only Super Administrators can manage plugins network-wide. Regular Administrators can only activate or deactivate plugins that the Super Admin has already installed.
Other WordPress roles, such as Editors, Authors, Contributors, and Subscribers, cannot access the plugin management features. This restriction helps maintain website security by limiting who can add potentially harmful code to your site.
Where to Find Plugins in WordPress?
WordPress plugins come from various sources, but there are three main places to find them:
- WordPress Plugin Directory: The official plugin repository at WordPress.org hosts over 59,000 free plugins. These plugins undergo a review process to ensure they meet WordPress coding standards and security requirements.
- Premium Plugin Marketplaces: Websites like CodeCanyon offer thousands of premium (paid) plugins with advanced features, dedicated support, and regular updates. Many popular free plugins also offer premium versions with enhanced functionality.
- Independent Developers: Some developers and companies sell plugins directly through their websites. These might be specialized tools for specific industries or niche functions.
When choosing plugins, always consider factors like regular updates, compatibility with your WordPress version, positive reviews, and responsive support. A well-maintained plugin from a reputable source reduces the risk of security issues and ensures better performance.
Requirements to Install A WordPress Plugin
Before installing plugins, make sure your WordPress setup meets these requirements:
- Self-hosted WordPress.org Site: If you’re using WordPress.com, you’ll need a Business plan or higher to install plugins. Users on free or lower-tier plans cannot add plugins.
- Latest WordPress Version: Keep your WordPress core updated to ensure compatibility with new plugins.
- Sufficient PHP Memory: Some plugins require more server resources, so the default PHP memory limit might need to be increased for complex plugins.
- Administrator Access: As mentioned earlier, you must have Administrator or Super Administrator privileges.
- FTP Access: For manual installations, you’ll need FTP credentials to access your server files.
- Backup System: Always back up your website before installing new plugins in case something goes wrong.
- Compatible Theme: Some plugins work best with specific themes or require theme support for certain features.
Meeting these requirements helps ensure a smooth installation process and reduces the chance of conflicts or errors.
How To Install A Plugin in WordPress?
Installing plugins in WordPress can be done in three different ways. Each method has its advantages depending on your situation and the plugin you want to install.
Method 1: Installing Plugins from the WordPress Dashboard
This is the easiest and most common method, perfect for beginners:
- Log in to your WordPress dashboard
- Navigate to “Plugins” in the left sidebar
- Click on “Add New”
- Use the search box in the top right to find your desired plugin by name or functionality
- When you find the plugin you want, click the “Install Now” button
- After installation completes, click the “Activate” button
- Configure the plugin settings if necessary (often found under “Settings” or as a new menu item in your dashboard)
This method works for any free plugin available in the WordPress Plugin Directory. It’s quick, requires no technical knowledge, and ensures you’re getting plugins directly from the official source.
Method 2: Uploading Plugins Via The WordPress Dashboard
For premium plugins purchased from third-party websites or plugins not available in the WordPress Directory:
- Download the plugin as a ZIP file from your source
- Log in to your WordPress dashboard
- Go to “Plugins” > “Add New”
- Click the “Upload Plugin” button at the top of the page
- Click “Choose File” and select the ZIP file from your computer
- Click “Install Now.”
- Once installation completes, click “Activate Plugin.”
- Configure the plugin settings as needed
This method works well when you’ve purchased premium plugins or have custom plugins developed specifically for your site. Just make sure you get plugins from trusted sources to avoid security risks.
Method 3: Manual Installation via FTP
For situations where the other methods don’t work or when you need more control:
- Download the plugin as a ZIP file
- Extract (unzip) the file on your computer
- Connect to your website using an FTP client like FileZilla
- Navigate to the /wp-content/plugins/ directory on your server
- Upload the entire extracted plugin folder to this directory
- Return to your WordPress dashboard
- Go to “Plugins” > “Installed Plugins”
- Find your newly uploaded plugin and click “Activate.”
- Configure the plugin settings as needed
This method is helpful when your hosting has upload restrictions or when the dashboard uploader fails. It requires basic knowledge of FTP but gives you more control over the installation process.
How to Use Plugins In WordPress?
Once you’ve installed and activated a plugin, you’ll need to learn how to use it effectively. Here’s a general approach to getting started with new plugins:
- Find the plugin’s settings page: Most plugins add their settings either under the main WordPress “Settings” menu, as a new item in the left sidebar, or in some cases, directly under the “Plugins” menu.
- Complete the initial setup: Many plugins will guide you through an initial setup wizard or offer a “getting started” page. Taking time to go through this setup ensures the plugin works correctly for your needs.
- Read documentation: Check the plugin’s documentation or help section to understand all features and options. Most developers provide guides, FAQs, or tutorials for their plugins.
- Customize settings: Adjust the plugin’s settings to match your specific requirements. Take your time exploring all options before making the plugin live on your site.
- Test functionality: Always test the plugin’s features on your site before relying on them. Create a test page or use a staging environment if possible.
- Check for conflicts: Monitor your site after activating new plugins to ensure they don’t conflict with existing ones or slow down your website.
Remember, plugins vary widely in complexity. Some work right out of the box with little configuration, while others require extensive setup. Don’t hesitate to contact the plugin’s support team if you encounter issues or have questions.
How to Uninstall A Plugin in WordPress?
Properly uninstalling plugins is just as important as installing them correctly. Here’s how to remove plugins from your WordPress site:
- Deactivate first: Go to “Plugins” > “Installed Plugins” and click “Deactivate” under the plugin you want to remove.
- Delete the plugin: After deactivation, a “Delete” link will appear. Click this to completely remove the plugin.
- Clean up database (optional): Some plugins leave data in your database even after deletion. Check the plugin’s documentation to see if there’s a built-in cleanup option or if you need to manually remove data.
- Check your site: After uninstalling, verify that your site still functions correctly and that the removal didn’t break any features.
For plugins that don’t offer proper uninstall procedures, you may need to manually delete plugin data from your database. However, this should be done carefully, preferably with the help of a WordPress developer if you’re not familiar with database management.
Regularly review your plugins and remove any that you no longer use. Unnecessary plugins can slow down your site and potentially create security vulnerabilities.
Top 5 Plugins for WordPress
With thousands of plugins available, choosing the right ones can be challenging. Here are five essential plugins that benefit most WordPress websites:
1. Yoast SEO
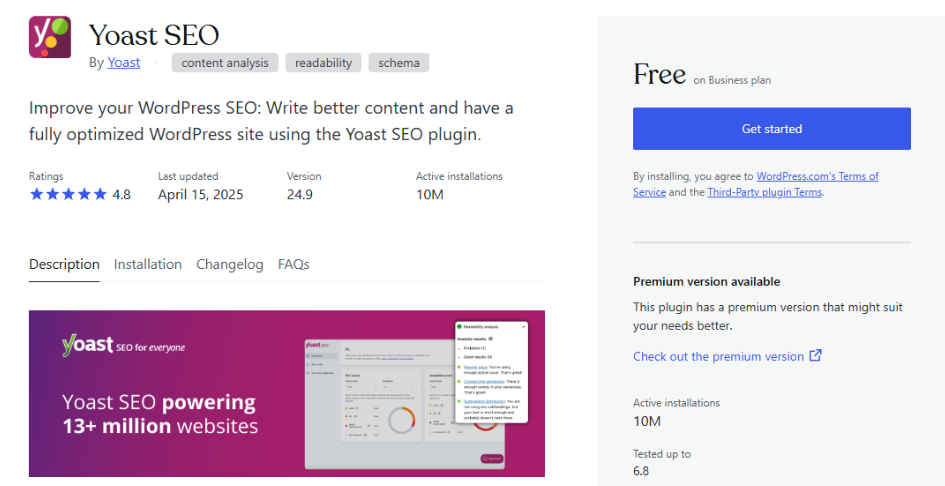
Yoast SEO helps optimize your content for search engines by analyzing readability and SEO factors. It offers real-time page analysis, XML sitemap generation, and metadata control. The plugin guides you through improving content with color-coded indicators and actionable recommendations, making SEO accessible even for beginners.
2. WPForms
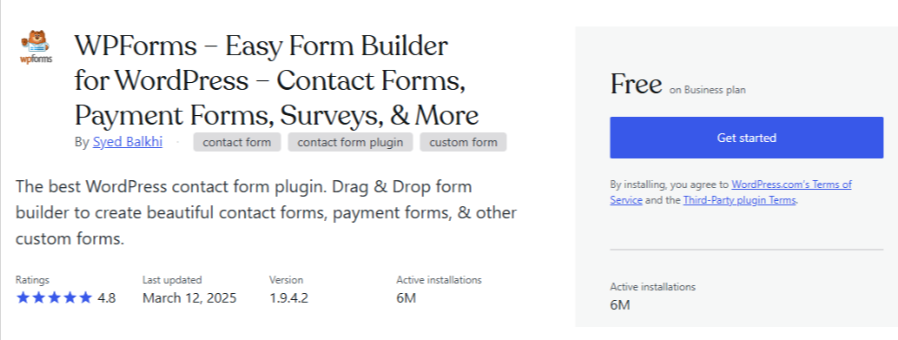
WPForms is a user-friendly drag-and-drop form builder that makes creating contact forms, subscription forms, and payment forms simple. The visual builder lets you customize forms without coding knowledge, and it integrates with popular email marketing services and payment gateways. The plugin also includes spam protection and mobile-responsive designs.
3. UpdraftPlus

UpdraftPlus makes backing up your WordPress site simple and reliable. It automatically creates scheduled backups of your entire site, storing them securely in cloud services like Google Drive, Dropbox, or Amazon S3. The plugin allows one-click restoration if something goes wrong, and you can choose which components to back up to save storage space.
4. Wordfence Security

Wordfence Security provides comprehensive protection against hackers and malware. It includes a web application firewall, malware scanner, and login security features like two-factor authentication and limiting login attempts. The plugin monitors your site in real-time for suspicious activity and provides alerts to help prevent security breaches before they happen.
5. WP Super Cache
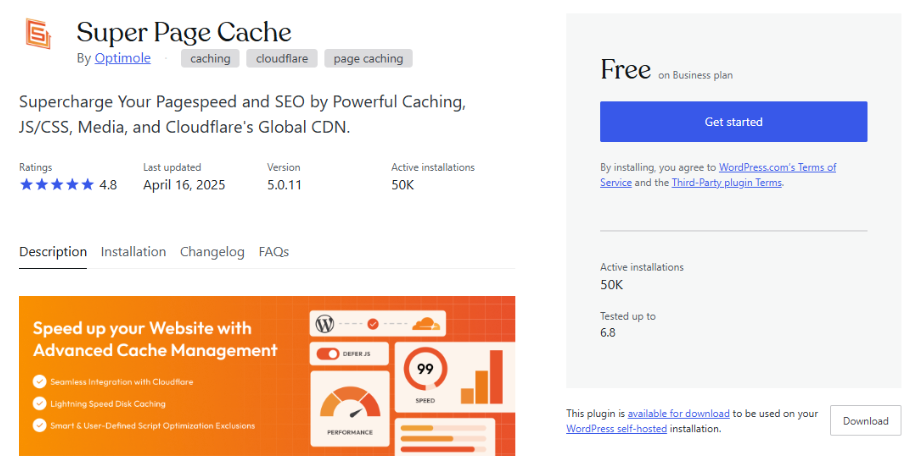
WP Super Cache improves your site’s speed by creating static HTML files instead of processing PHP scripts. This dramatically reduces server load and page loading times, especially during high-traffic periods. The plugin offers multiple caching methods and is easy to configure with recommended settings, making it suitable for both beginners and advanced users.
These plugins address fundamental website needs like security, performance, and user engagement. However, your specific requirements might call for different plugins depending on your site’s purpose and audience.
Worth Reading:
Conclusion: Install A Plugin in WordPress within a few simple steps
Installing and managing WordPress plugins isn’t difficult once you understand the process. Whether you choose the simple dashboard method, upload premium plugins manually, or use FTP for more complex installations, adding functionality to your WordPress site is within reach for users of all technical levels.
Remember to follow best practices: only install plugins you truly need, get them from reputable sources, keep them updated, and remove unused ones. Regularly backing up your site before installing new plugins provides added protection against potential issues.
The right plugins can transform a basic WordPress site into a powerful, feature-rich platform tailored to your specific needs. From SEO and security to forms and performance optimization, plugins extend WordPress’s capabilities without requiring custom code or hiring developers.
As you become more familiar with WordPress, you’ll develop your own set of favorite plugins that align with your website goals. Don’t be afraid to experiment with different options, but always prioritize quality, security, and performance when making your selections.
With the knowledge you’ve gained from this guide, you’re well-equipped to start enhancing your WordPress site with plugins. Take your time, research your options, and enjoy the process of customizing your site to perfectly suit your needs.


